August 26, 2013

Growing up in King of Prussia, Pennsylvania, my very Indian parents entertained a lot. It was more like they took their turn at hosting all of their Indian friends – people who became their family over time to act as a day-to-day surrogate to their blood relatives left thousands of miles away.
A party, in our very North Indian home, meant fresh everything. Then, everything was made from scratch and made over the course of a few days versus the now typical call to catering. There were very few if any options on Indian catering back then, circa the mid to late 1970′s.
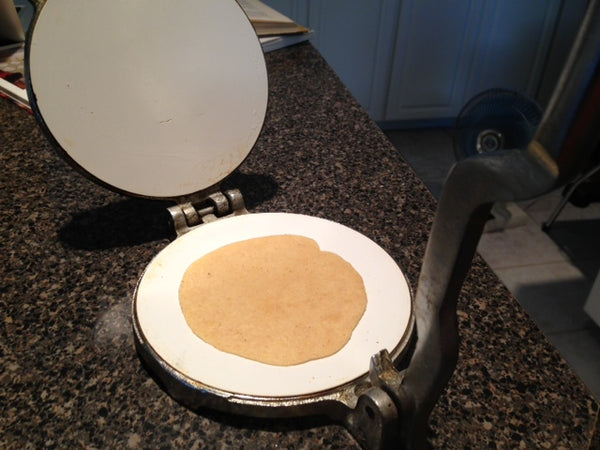
Parties especially meant fresh puri – a job reserved especially for me and my mother. She would knead the dough and I would be assigned the laborious task of pressing it to circular perfection. I cheated a bit with our little purple tortilla press, which with two firm pushes would churn out discs of dough perfectly round and ready to be fried up.
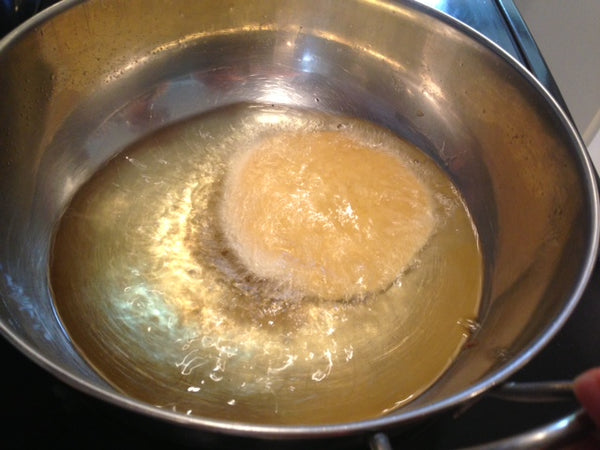
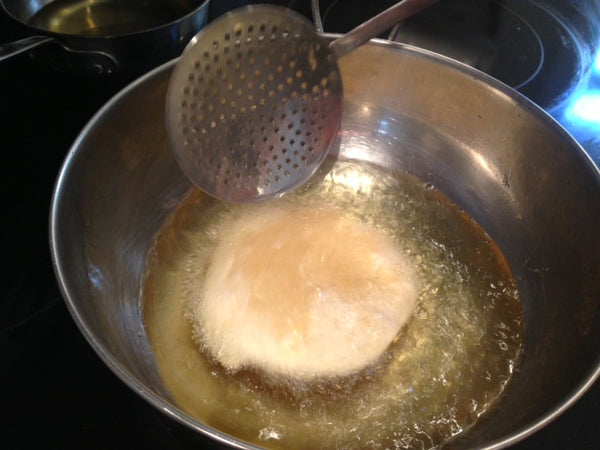
They would then go right into the hot oil and puff up magically. We would churn them out over a few hours – about a hundred and ten at a time – the 10 or so extra for me to eat right away. We typically had fresh mint chutney on hand – a to-die-for combination especially when your puris are hot and fresh.
And, the reason I’d never have an appetite come party time.
3 cups whole wheat chapati flour *
½ teaspoon salt
2 tablespoons plus 1 teaspoon oil (I use grape seed)
1 cup plus 1 tablespoon water
Oil for frying (I use vegetable, canola, or grape seed)
1. In a food processor add flour, salt, and oil, and mix well.
2. Add water. Blend until it the mixture forms into dough.

Put in a large bowl and knead well until you have a large, smooth ball of flour. Alternatively, you can mix all ingredients in a large bowl by hand, but of course this is a little more labor intensive and messy. Keep in mind that your dough for puris will be a little stiffer than that of your roti dough because you are using a little less water.

3. Cover your dough with a damp paper towel or dishcloth. Let it sit for about 15 minutes. You don’t want it to sit too long, because once you go to fry the puris, they will soak up too much oil and not be light and airy.
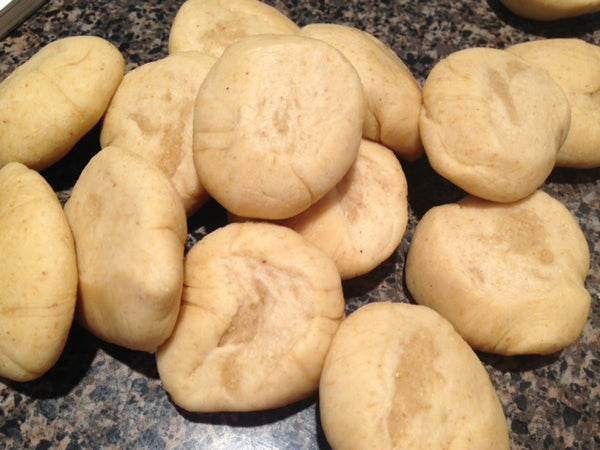
4. Roll half the dough in between the palms of your two hands to make into a thin and long, snake-like strip of dough that is about ¾-inch wide. Take a knife and cut this strip into ¾-1 inch pieces depending on how large you want your puri.


6. On a clean surface, roll these small balls out until they are thin and round. I typically roll out a half dozen at a time. Be careful not to make them too thin, as they will crisp up too much when frying. If you make them too thick, they won’t puff properly when cooking. Getting them just right may take a little practice, but not to worry. Keep trying and you’ll be sure to perfect it. Typically, I roll mine out into circles that are 5-inches in diameter. You can also make them 3 inches if you prefer a smaller puri, traditional in parts of India. My mother always kept a bright purple tortilla press on hand to press the puris just so. It was my job to press them down (two hard presses usually did the trick) for parties, when we would fry about a hundred at a time.


7. In a frying pan, heat your oil over medium-high heat. It should be about an inch deep. Any more and it won’t heat up enough to fry your puris properly. Test that your oil is hot enough with a pinch of the uncooked dough. If it sinks to the bottom, you need to heat your oil more. If it rises immediately to the top, your oil is ready.
8. Slide your uncooked puris in from the side slowly into the hot oil. Cook about 10 – 12 seconds on one side. As your puri is cooking, use your wire mesh skimmer or slotted spoon to gently push it down and pour a little hot oil over the top. After the one side is cooked, flip your puri over and cook on the other side another 10 – 12 seconds until lightly brown. Gently bring to the side of your pan and let the excess oil drip away. Transfer to a tray lined with a paper towel to absorb the excess oil.


9. Keep rolling out and frying your puris until they are all cooked. Eat them immediately with a curry, sabzi, or chutney. Or, once cooled, stack about 10 at a time and wrap in aluminum foil or a dishcloth and refrigerate.
Tools: Food processor, rolling pin, frying pan (Kadhai), and wire mesh skimmer.
* Buy your chapati flour at an Indian grocer. In typical restaurants, they use white flour (maida), but I rarely go that route. The puris never lose flavor with whole wheat, so why sacrifice the nutrition?
Hugs,
Anupy
-xoxo-
Comments will be approved before showing up.